Installing Clopay Residential Sectional Wood Garage Doors

Purpose: This document provides step-by-step instructions for properly installing Clopay residential sectional wood garage doors. Following these instructions ensures the door is installed correctly and safely.
Scope: Applies to all Clopay residential sectional wood garage door models 10, 20, 33, 44, RC, RH, RR, CC, CH, CR, CR800, CRD, and MRD. Does not apply to commercial or industrial installations.
Materials Needed:
- Clopay Pro-Lube lubricant (1 can)
- 10d 3” common nails (24)
- Stop molding
- Wood shims
- Wood block
- Rope
- Rear track hanger kit or materials to fabricate (3/32” thick steel punched angle, (10) 3/8” x 1” bolts and nuts, (6) 5/16” x 1-1/2” lag screws)
Tools Needed:
- Work gloves
- Safety goggles
- C-clamps or locking pliers
- Hammer
- Flathead screwdriver
- Tape measure
- Level
- Socket wrench set
- 7/16” and 9/16” box wrenches
- Drill with 1/4”, 3/16”, and 3/8” drill bits and drive bits
- Stepladder
- Sawhorses or supports for door sections
- Hacksaw
- Wood saw
- Angle square
- Additional tools for spring installation
Safety Information:
- DO NOT loosen or remove bottom bracket with spring tension engaged
- DO NOT operate door with a broken spring
- DO NOT manually operate door without properly installed handles
- Keep hands and fingers clear of section joints, tracks, and other pinch points
- Inspect door components regularly for wear, damage, or loose parts
- DO NOT attempt installation in windy conditions
Procedure:
- Verify all parts received and check headroom, backroom, and sideroom clearances per manufacturer requirements
- Review complete door assembly and hardware components using diagrams in installation instructions
- Remove existing door springs using safety precautions
A. Raise door fully and secure in place with C-clamps on tracks B. Detach cables at both ends for extension springs C. Disassemble and remove springs and cables completely - Remove existing door sections and tracks
- Prepare opening by installing 2×6 framing if needed and stop molding
- Place bottom section in opening and shim to level A. Bend and attach bottom brackets B. Attach #1 hinges C. Attach short strut
- Install lift handles on bottom and second sections
- Stack remaining sections in order with graduated hinges A. Attach hinges to ends and struts/braces as needed B. Install top roller brackets and hinges on top section
- Reinforce top section if adding automatic opener
- Assemble track brackets, flag brackets, and hanging hardware
- Install vertical tracks over rollers with flag brackets on top A. Mount flag brackets to wall with lag screws B. Square tracks vertically and laterally
- Mount horizontal tracks to flag brackets with curved end over top roller
- Attach rear track hangers and secure tracks appropriately
- Adjust top section rollers
- Install lock if included
- Install pull rope on manual doors
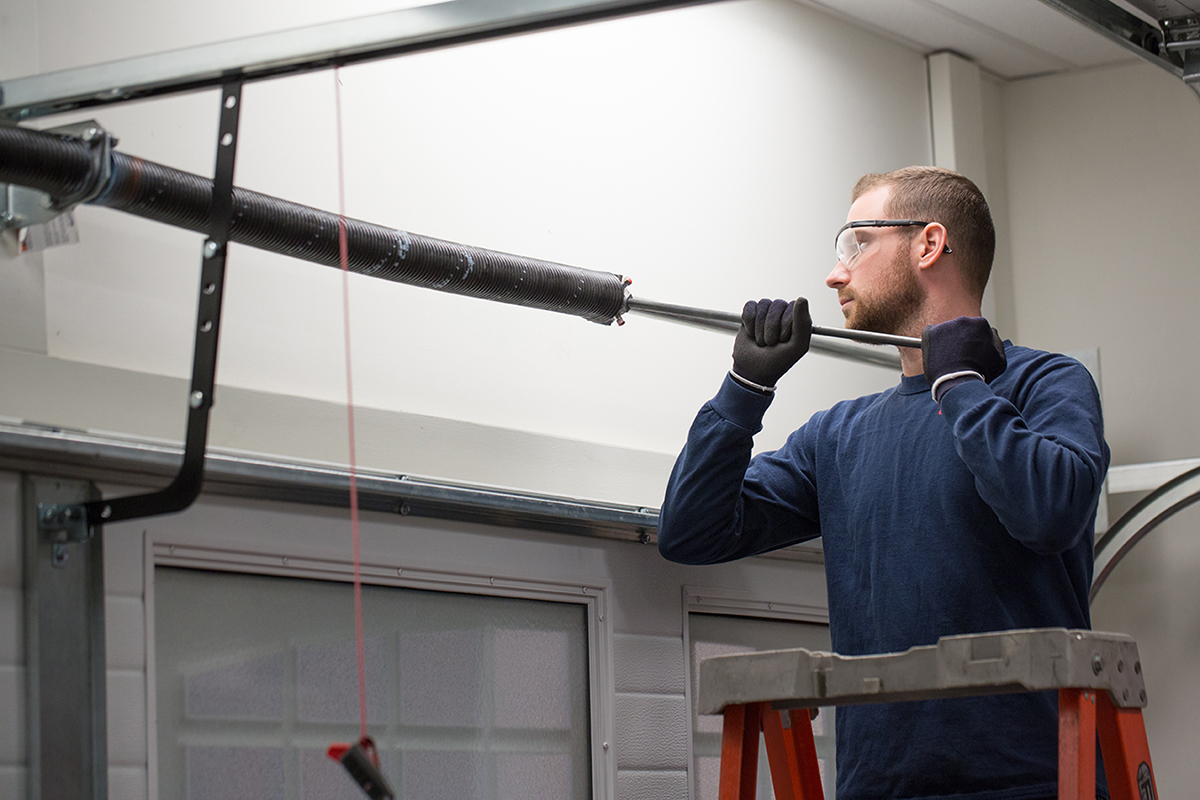
- Install door springs per separate supplemental instructions
- Remove ropes, disable locks, and reinforce top section if adding operator
- Install automatic opener reinforcement and mount operator according to manufacturer’s instructions
- Test door operation and safety features
- Finish/seal/maintain door according to manufacturer guidelines
- Advise homeowner on garage door safety, operation, and maintenance